
Subtotal $0.00

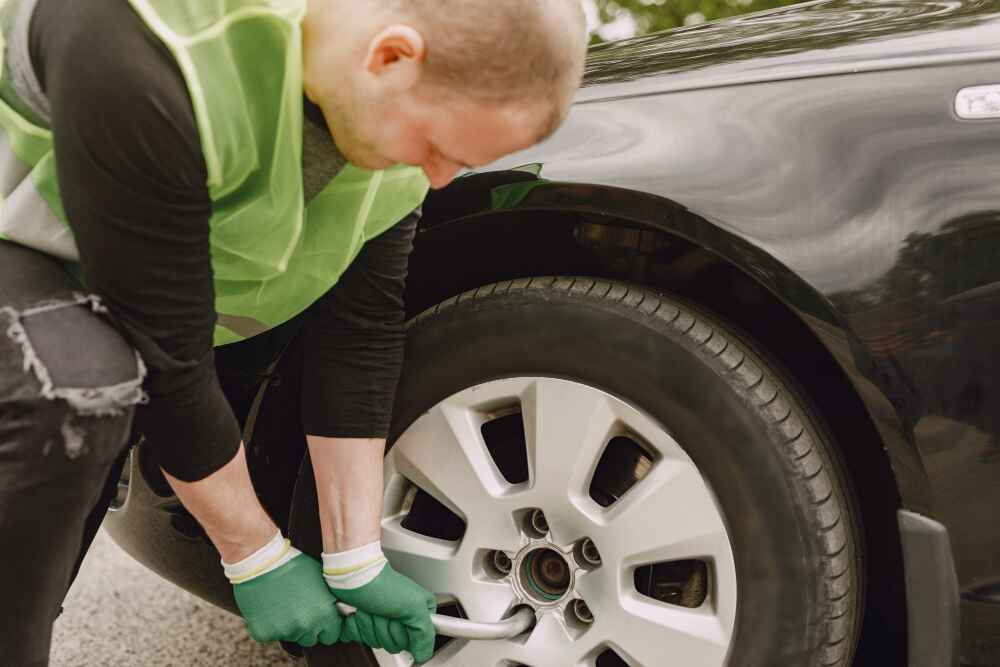
Table of Contents
Introduction
We’ve all been there—you’re driving along, minding your business, and then thud. Your heart sinks. A flat tire? Really? It’s one of those little emergencies that no one ever wants to deal with, but guess what? You don’t have to be a mechanic to fix it.
With a few basic tools and some step-by-step guidance, you can repair your tire and get back on the road safely in no time. This guide walks you through six simple steps, covering everything from assessing the damage to making the fix and driving away with confidence. So, let’s roll up our sleeves and get started—you’ve got this!
Step 1: Prepare for Safety
Before you even think about fixing that tire, let’s talk about safety. Pulling over in a secure spot is the first—and most important—step. Find a flat, stable area away from traffic, like the shoulder of the road or a parking lot. If you’re on a busy road, try to get as far away from moving cars as possible.
Once you’re safely parked, turn on your hazard lights. These blinking lights aren’t just for decoration—they make you more visible to other drivers, especially in low light or bad weather.
Now, grab your tools. You’ll need:
- A car jack.
- A lug wrench for those stubborn nuts.
- A tire repair kit, if you’re patching it up.
- A pair of gloves to keep your hands clean.
If it’s nighttime, or visibility is poor, consider having on a reflective vest. Sure, it’s not the most fashionable thing, but it can make a big difference in keeping you safe.
Once you’ve got all this sorted, you’re ready to roll (well, not literally yet) into fixing that tire!
Step 2: Inspect the Damage
Now that you’re set up safely, time to see what’s going on with that tire. Start by taking a good, close look. Check for anything obvious, like a nail sticking out, cuts on the surface, or damage around the valve stem because even a tiny issue there can cause a leak. If you hear a faint hissing sound, bingo—you’ve got your culprit.
Next, figure out what kind of repair you need. If it’s a small hole in the tread (like a nail or screw), you can probably fix it with a plug or patch. But if the damage is near the sidewall or the tear is bigger than a quarter, it’s not something you should mess with. A replacement is safer and will save you headaches later.
And here’s the golden rule: if the tire looks seriously damaged—like a deep gash, a big chunk missing, or anything that screams “beyond repair”—don’t try to patch it up. Driving on a tire like that is just too risky. In those cases, it’s better to call for professional help or a tow. Safety first, always!
Step 3: Remove the Tire
Alright, it’s time to get that tire off. Here’s how to do it step by step:
- Loosen the lug nuts
Before lifting the car, use your lug wrench to loosen the lug nuts—just turn them enough to break the resistance. Don’t take them off completely yet. - Lift the vehicle
Find the correct jack point (usually near the flat tire) in your manual. Place the jack, lift the car until the tire’s off the ground, and make sure the car is on a flat surface with the parking brake on. - Remove the flat tire
Unscrew the loosened lug nuts and set them aside. Then, carefully pull the flat tire off the wheel hub and set it down flat.
Step 4: Repair the Tire
Time to fix that tire! Don’t worry—it’s not as tricky as it sounds. Here’s how you can tackle the repair like a pro:
Again,
- Plug the Hole
Locate the damage and clean it with the tool from your repair kit. Then, insert a repair plug into the hole using the insertion tool. Trim off any excess plug. - Use Sealants (if needed)
If you’re in a pinch, use tire sealant for small punctures. Attach it to the valve, squeeze it in, and it’ll temporarily seal the leak. Remember, this is just a quick fix. - Check for Leaks
Inflate the tire to the recommended pressure and listen for any hissing sounds. For extra assurance, apply soapy water to the patched area—if bubbles form, there’s still a leak.
Step 5: Reattach the Tire
You’re almost there! Let’s get that tire back on the car and get you back on the road.
- Align the Wheel
Lift the repaired or spare tire and align it with the wheel hub, matching the holes with the bolts. Once they line up, gently push the tire into place. - Tighten the Lug Nuts
Hand-tighten the lug nuts to hold the tire in place. Then, use your wrench to tighten them in a star pattern, alternating nuts to ensure an even, secure fit. - Lower the Vehicle
Carefully lower the car using the jack. Once the car is back on the ground, give the lug nuts a final firm tighten, ensuring they’re secure and can’t be turned by hand.
And that’s it! Your tire is back on, and you’re almost ready to roll.
Step 6: Test and Drive Cautiously
Now that the tire’s fixed, let’s make sure everything’s holding up before you hit the road.
Test the Repair
Drive slowly for a short distance and feel for any shaking or strange sounds. If something feels off, it’s best to address it early.
Monitor Tire Pressure
Check the tire pressure after a short drive with a gauge. If it’s low, adjust it or recheck the repair.
Seek Professional Help If Needed
If you notice vibrations, weird noises, or the pressure keeps dropping, get it checked by a professional to avoid further issues.
Safety Tips and Preventative Advice
Taking care of your tires is easier than you might think, and it can save you from bigger problems down the road. Here are a few simple things you can do:
- Check tire pressure and tread depth regularly: Keeping your tires properly inflated and checking the tread is crucial. This will help improve your car’s performance and ensure safety.
- Avoid overloading your vehicle: When you overload your car, it puts extra pressure on your tires, which can cause premature wear or even lead to blowouts.
- Inspect your tires for damage: Every so often, take a good look at your tires. Look for any signs of damage like cuts, punctures, or bulges. Spotting issues early can save you from a breakdown later.
Conclusion
Fixing a tire isn’t as tough as it sounds, especially when you’re prepared. With the right tools and a little knowledge, you can handle it yourself.
Make sure you have a tire repair kit in your car, and maybe pass this guide along to a friend or a family member. It’s always a good idea to be ready for anything while you’re out on the road!
